Startup
When you start up QuestScreen for the first time, you will be greeted by a screen like this:
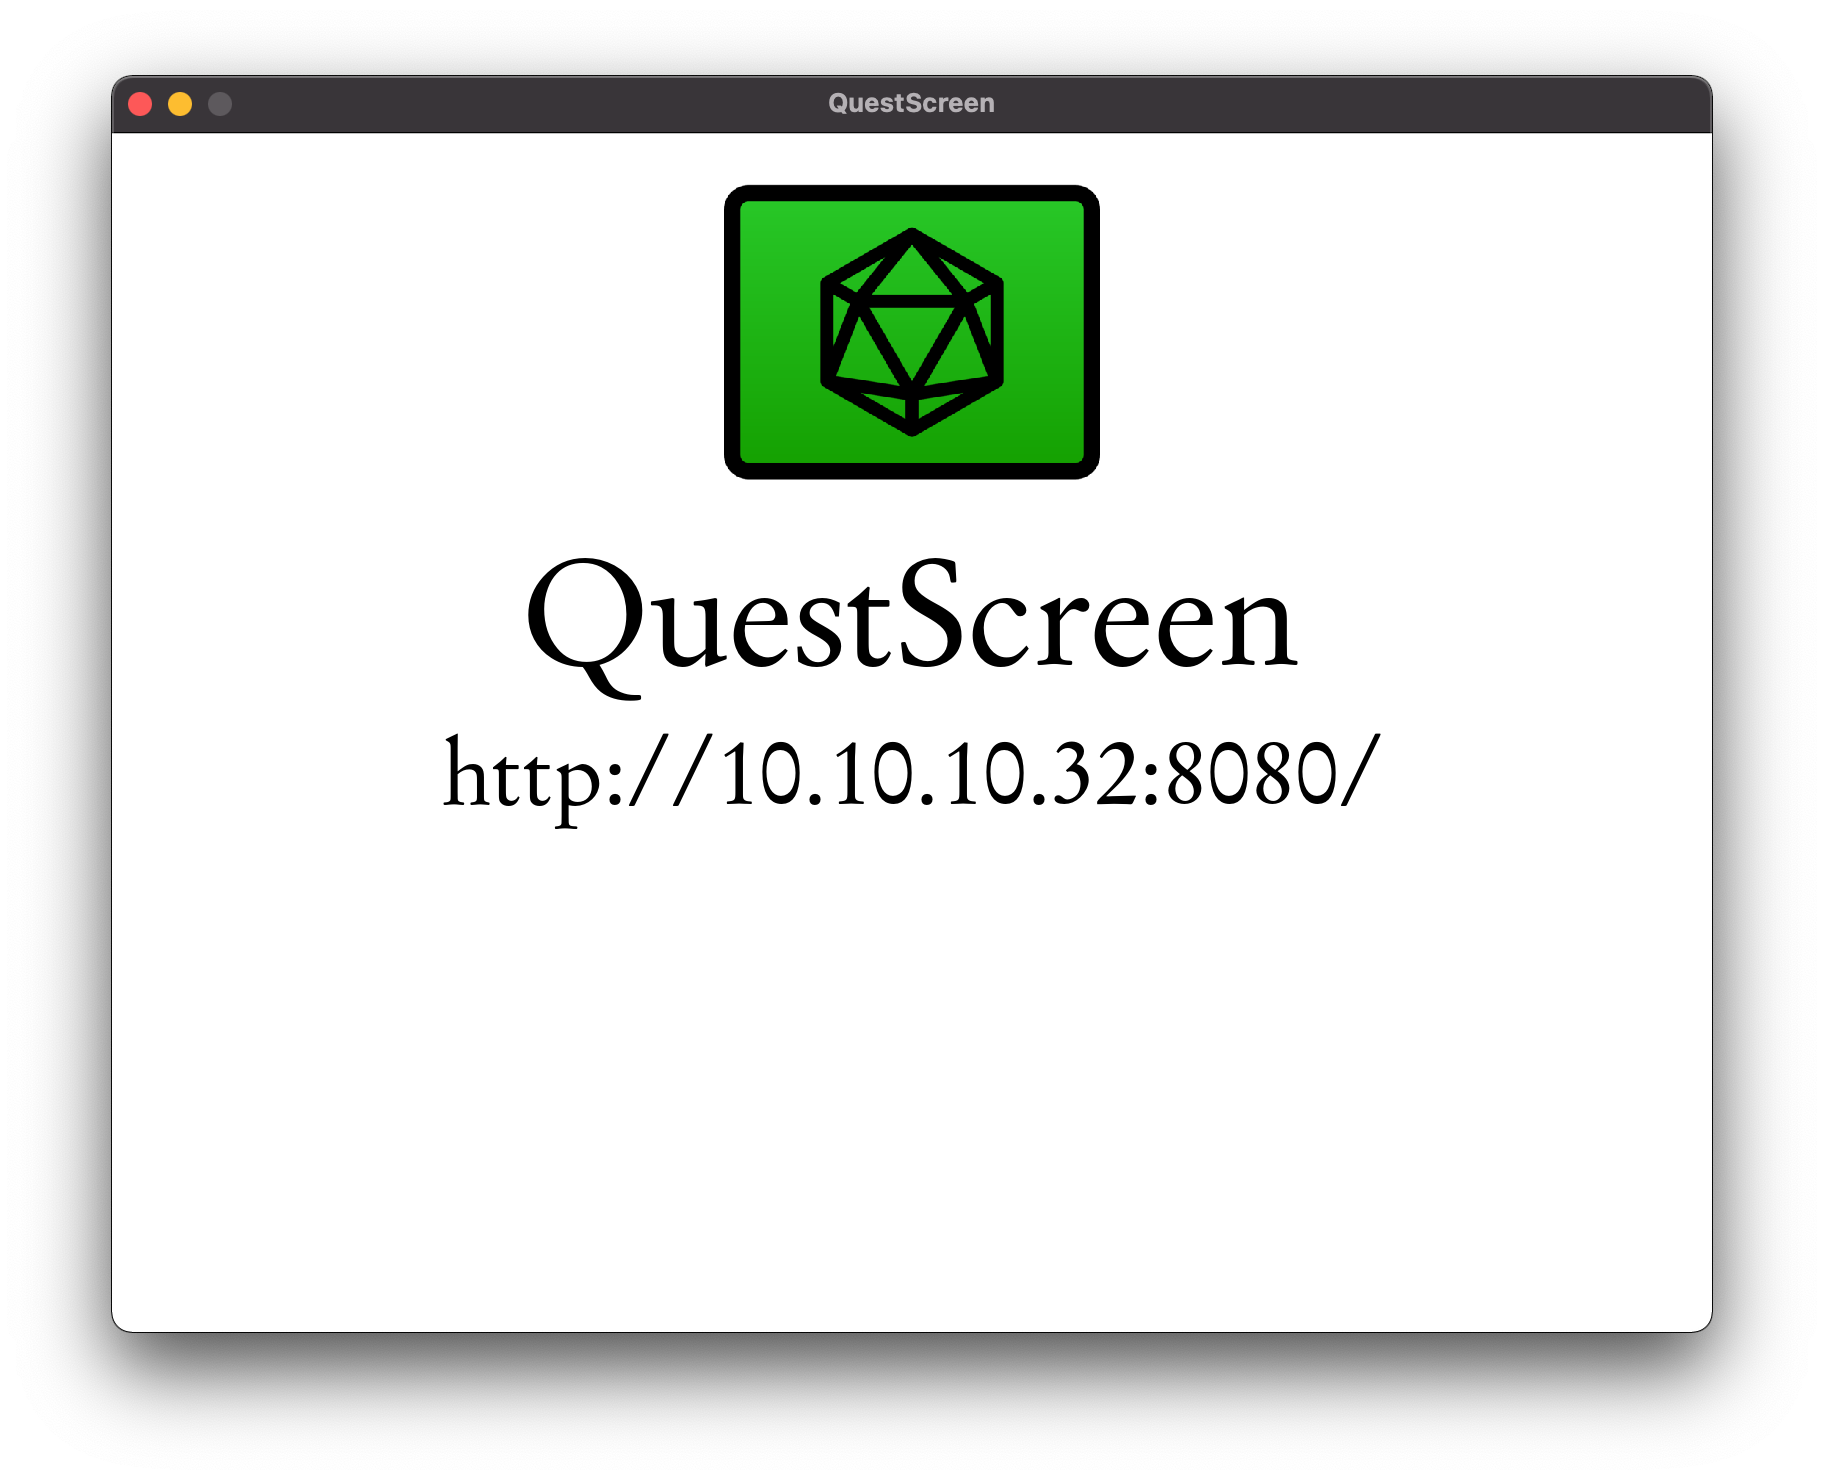
QuestScreen starts in a window by default.
You can run it in fullscreen mode (which is usually what you want) by giving the command line argument -f.
On Windows, you can create a shortcut to questscreen.exe and add this flag in the shortcut’s properties behind the path to the executable.
You can also set the window size by giving for example -w 1280 -h 960.
The window is currently not resizeable while the app is running.
You can quit the app by pressing any key, which will open a popup that asks you to press Esc to close the app. You can also configure the app to add additional options, for example if you run it on a small board and want to have an option to directly shutdown the board after quitting. Added options will make the app return different values on quitting that you can process in a script – the app does not implement shutting down the system itself.
Usual shortcuts to close the window (like Alt+F4 on Windows) work as well to close the app.
Accessing the Web Interface
To control what the app displays, you use a web interface.
You can open the web interface on a separate screen on the same machine, or on a different device in the same network, e.g. a mobile phone, tablet or laptop in the same WiFi.
You can specify on which port the web interface runs with the command-line parameter -p 8080, which in this case would run the web interface on port 8080 (this is the default port which is used when you don’t specify anything).
When you want to access the web interface on the local machine, the URL http://localhost:8080/ (substitute a different port if necessary) will take you there.
On another machine, you need to enter the target machine’s IP instead of localhost.
QuestScreen analyzes your network configuration and tries to show you one or multiple possible URLs.
One of these should usually work; if you run a complex network setup where none does, you should know what to do.
Accessing the web interface from another machine may require configuring your firewall.
For example, the Windows firewall will ask you whether you want QuestScreen to receive incoming requests, which you have to allow.
The web interface’s landing page looks like this:
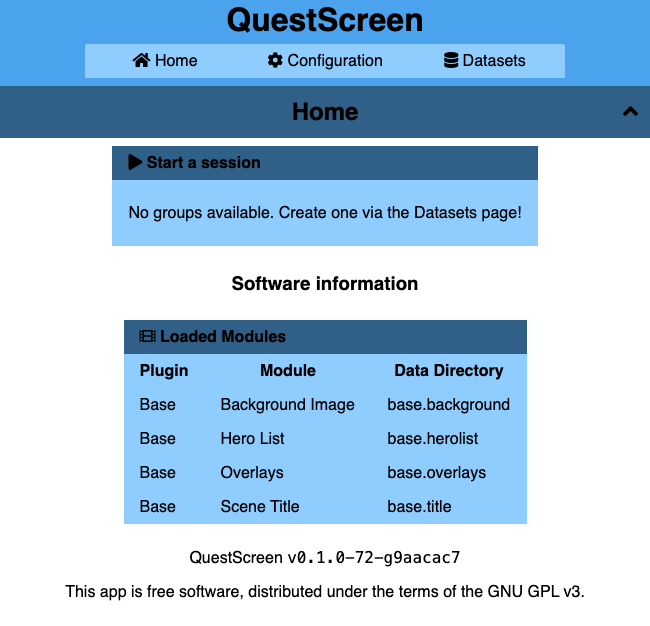
In the top row, you have three tabs: Home is the current page, Configuration allows you to configure how things are rendered and animated on the screen, and Datasets allows you to manage the groups you play with, and the pen & paper systems you’re using. While you can use QuestScreen for the one group of fine folks you always play with and the one system that is better than all the others, it also allows you to use it for different systems and groups, and it will store the state of each group separately.
Below under Start a session, you will be able to start a session once you have created a group. Starting a session will load the selected group’s state and display it on the screen. It will also take you to the control panel for the current session, where you can manipulate what the screen shows.
Under Software information, you can see the list of loaded plugins and modules. A module is a unit you can add to your screen which will display something, for example the Base > Scene Title module can display a single line of text at the top of the screen. A plugin usually provides a set of modules and can be provided by third parties. For example, you can write a plugin that displays some data specific to your favorite system!
If you downloaded an official pre-built QuestScreen binary, you won’t have any modules. Plugin authors may provide you with binaries containing their plugins, but you can also build QuestScreen yourself and include all plugins you want to use. This is covered in the building instructions.
If there are any errors that prevent QuestScreen from functioning propertly, they will be displayed on the start page of the web interface.